9. System settings & System images
System Settings
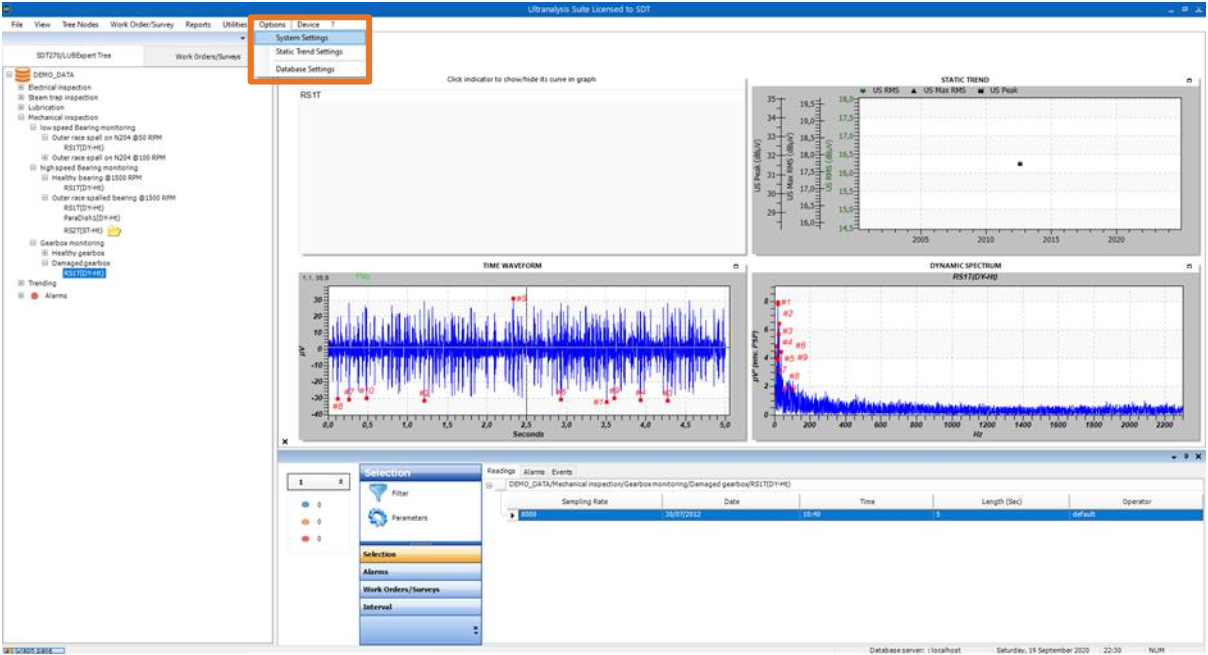
In System Settings menu, you will define certain settings that will make your work easier (not mandatory), but you will also need to introduce certain data that mandatory for work continuation. In top toolbar, click Options and then System settings:
Settings management window will pop up.
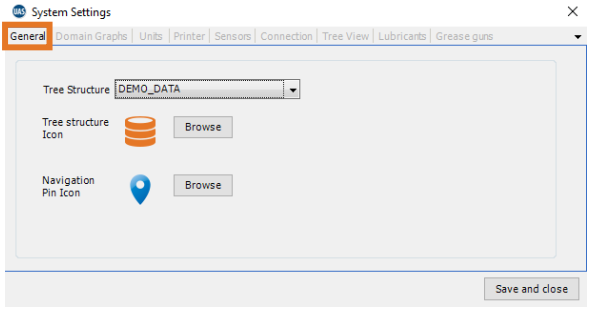
General
By selecting first tab – General – you can choose Tree Structure Icon and Navigation Pin Icon for any of the Tree Structures within the Data Folder you currently use.
Click Browse, and select Icon from System Images (it will be later explained how to upload additional icons):
Domain Graphs
By selecting next tab – Domain Graphs – you can select Fast Preview for your Time Domain. By selecting this option, Ultrasound signal displayed in Time Domain will be down sampled for fast loading, but at any moment, you can load full data by single click while viewing Time Domain.
In the same tab, you can adjust settings for FFT, both Number of Samples and Window Function.

Units
Next tab – Units – allows you to set unit for Temperature, Acceleration, Velocity, Grease weight, Frequency and Bearing size.

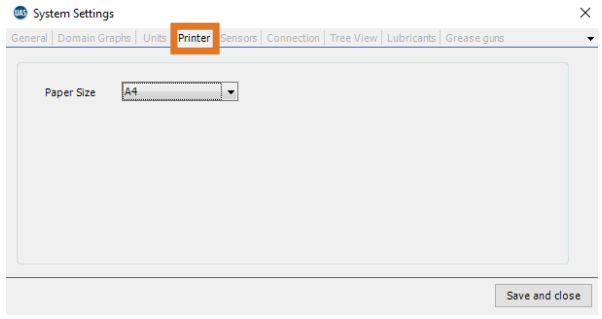
Printer
Next tab – Printer – allows you to define paper size for printout:
Sensors
Next tab – Sensors – enables you to customize list of sensors you use. Full list of sensors contains all sensors in SDT produce range, but you do not necessarily use all of them. In order to narrow the list offered to you while choosing the sensor, select sensors you have and only those sensors will be in the list. Additionally, if you use UAS3 to work with LUBExpert, select LUBExpert Mode and only LUBEsense1 and TEMP2 will be shown.

Connection
Next tab – Connection – In case you need to configure a Proxy Server, due to your company restriction, to connect to internet, fill the necessary information here:

Tree View
Next tab – Tree View – contains setting for Tree Structure appearance in top pane, the way levels will be visually connected. Settings also contain a choice for preferred Dashboard type in case you are using LUBExpert alongside other instruments or SDT270 with LUBExpert features. Since LUBEsense1 (sensor used by LUBExpert) results are displayed with specific graphs, and it is possible that within one node you might have multiple sensors or both Lubrication and Condition Monitoring results, you may choose the preferred dashboard to be displayed when you select Measurement Point, for fast data preview. Once you select sensor within that Measurement Point, specific dashboard of that sensor will be displayed.

Lubricants
Next tab – Lubricants – is a database of your Lubricants. For use of LUBExpert, populating this database is mandatory, as each Lubrication point must have Lubricant type assigned.
Add Lubricant name in highlighted window (up to 12 characters) and click Add.

If you need to edit lubricant name, select Lubricant in the list, edit name in highlighted field and click on Edit. If you want to delete Lubricant, select it, and click on Delete. You can arrange how Lubricants appear in the list by selecting Lubricant and Move up and Move down buttons. Once you completed, click on Save and close.

Grease guns
Last tab – Grease guns – is a database containing your Grease guns. Same as with Lubricants, if you are using LUBExpert or SDT270 with LUBExpert features, it is mandatory to populate this database, as each Lubrication point needs to have Grease gun assigned. Type Grease gun name (up to 5 characters) in Grease gun ID window, enter Amount of grease per stroke value (mandatory) and click on Add. To edit, select Grease gun from the list, change data and click on Save changes. Once finished, click on Save and close.
You can find more details about LUBExpert features and functions in dedicated LUBExpert manual, embedded in your UAS3.

System Images
Node Icons
Node Icons (later explained in node setting), can be uploaded and managed in through System images feature. Click on Utilities -> System Images -> Node Icons.
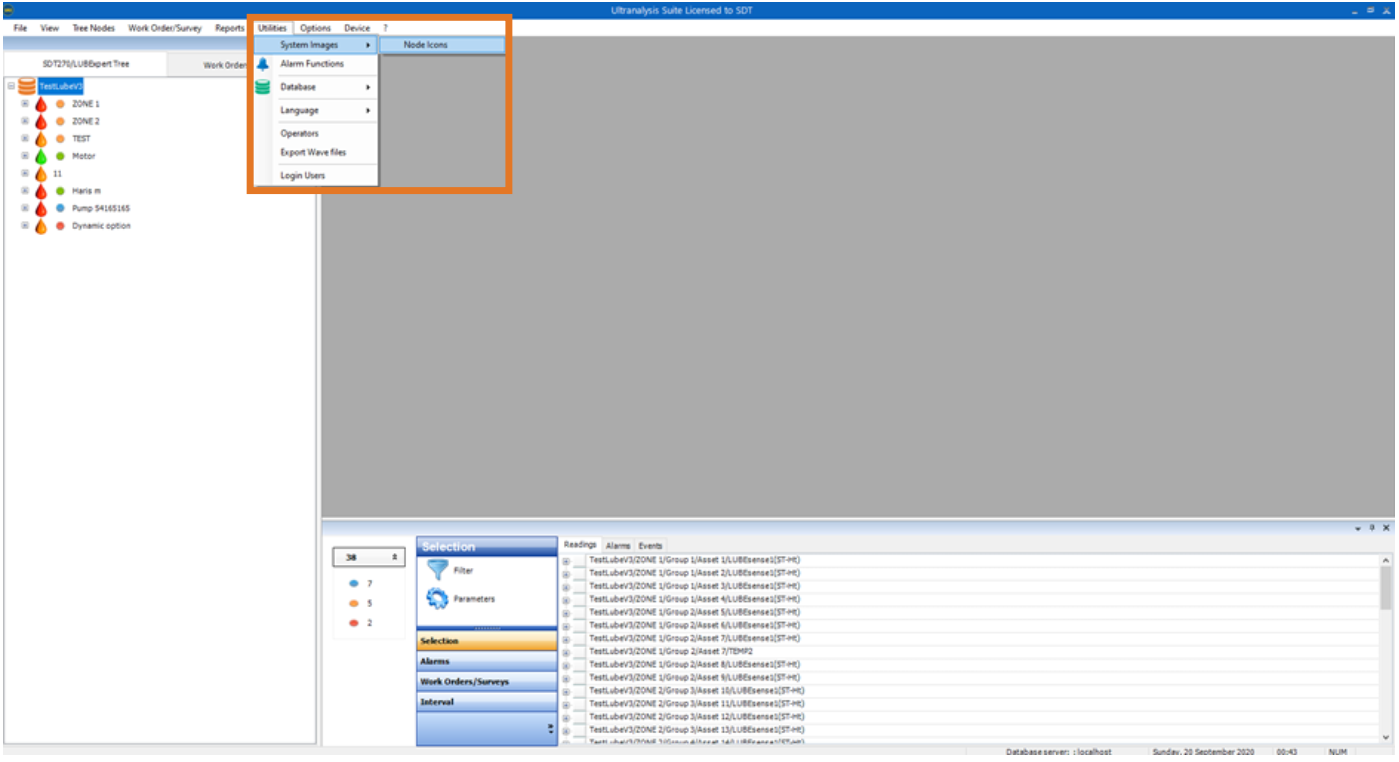
Window will pop up where you can view existing Node Icons or upload new ones.
